

GitHub Action + HashNode Magic
First time dealing with GitHub Actions for Hashnode APIs Hackathon!


I did something out of my comfort zone, maybe multiple. This is my first Hashnode hackathon, my first time working with GitHub Actions, and my first Hashnode blog!
The challenge was not only to come up with a unique project but also to dive headfirst into the world of GitHub actions. In this article, I'll take you on a journey through the creation of my project, sharing the exciting moments, the challenges faced, and the valuable lessons learned.
the idea 💡
The basic concept was to set up a process that allows users to effortlessly publish articles on Hashnode simply by pushing them to their GitHub repository. To make this happen, a workflow needs to be set up that triggers every time there's a new commit. This workflow sifts through all the articles in the repository and publishes them using Hashnode GraphQL API. And voila! That's exactly what I managed to achieve!
the project ✨
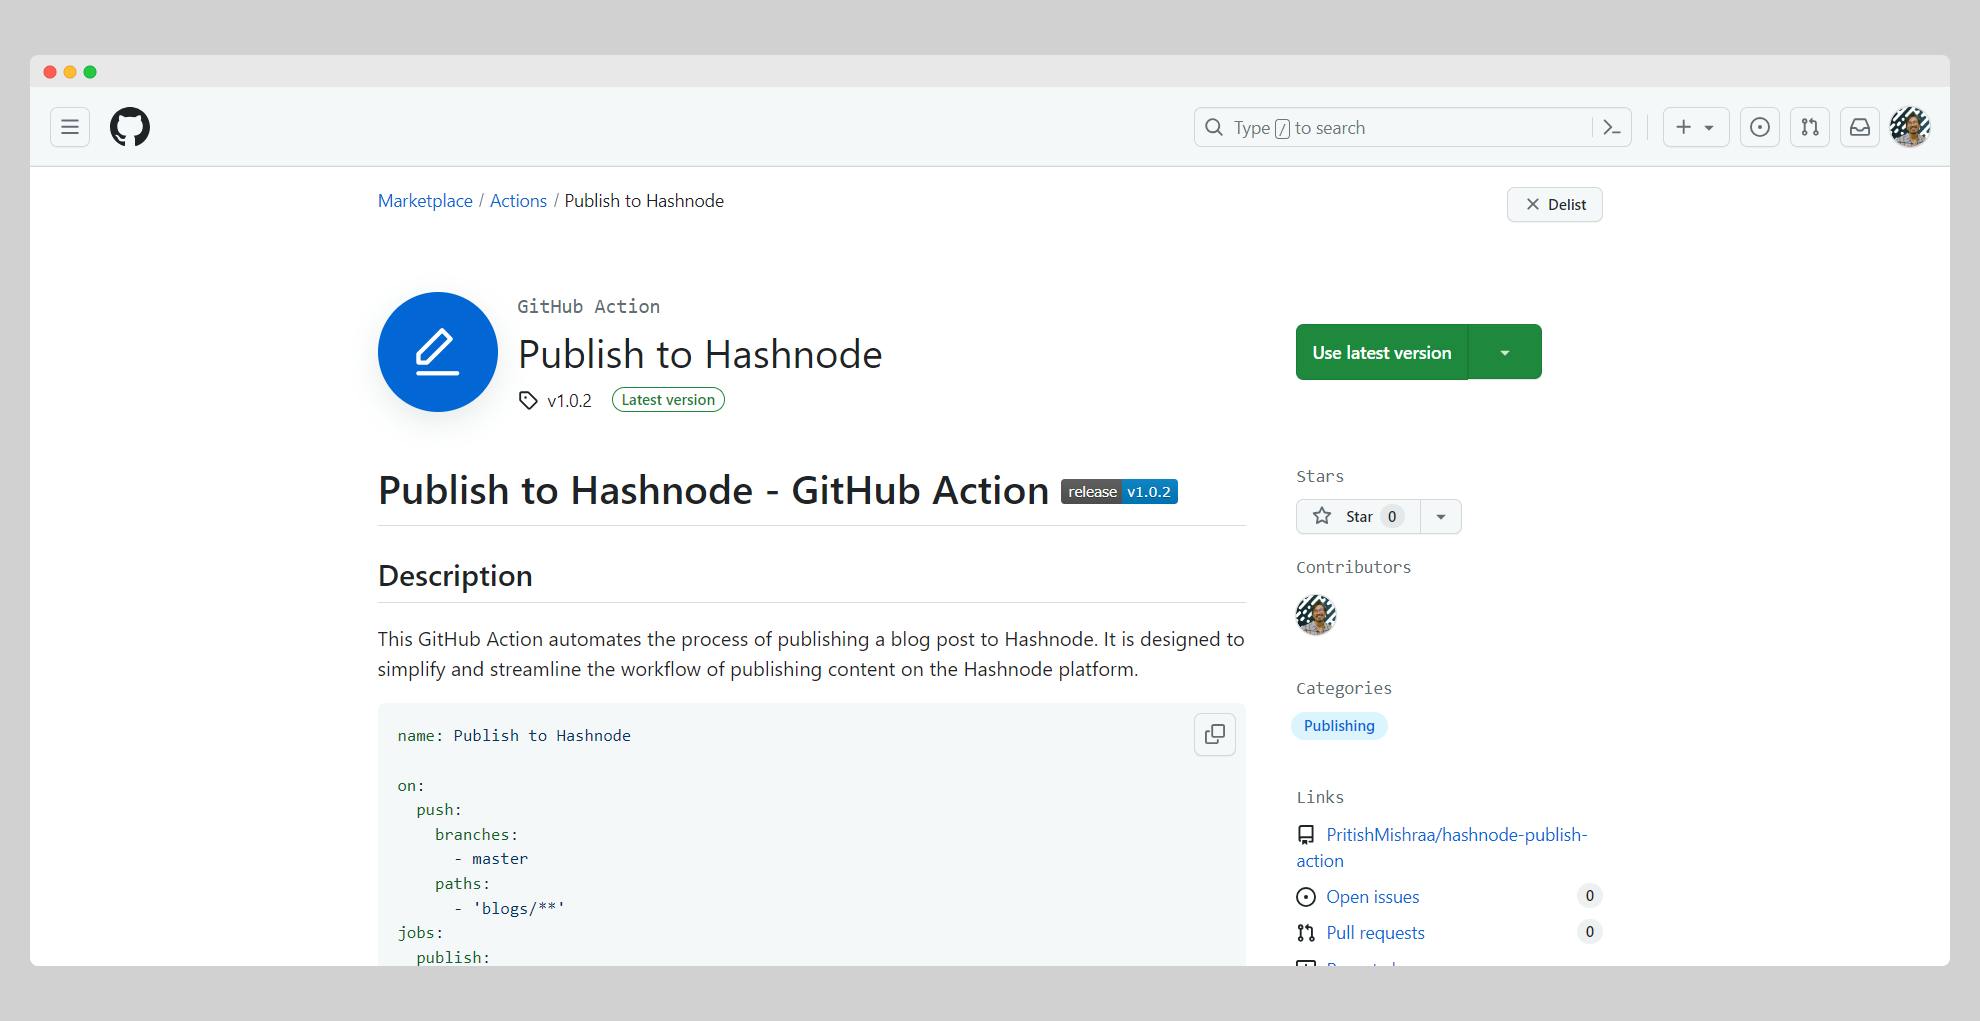
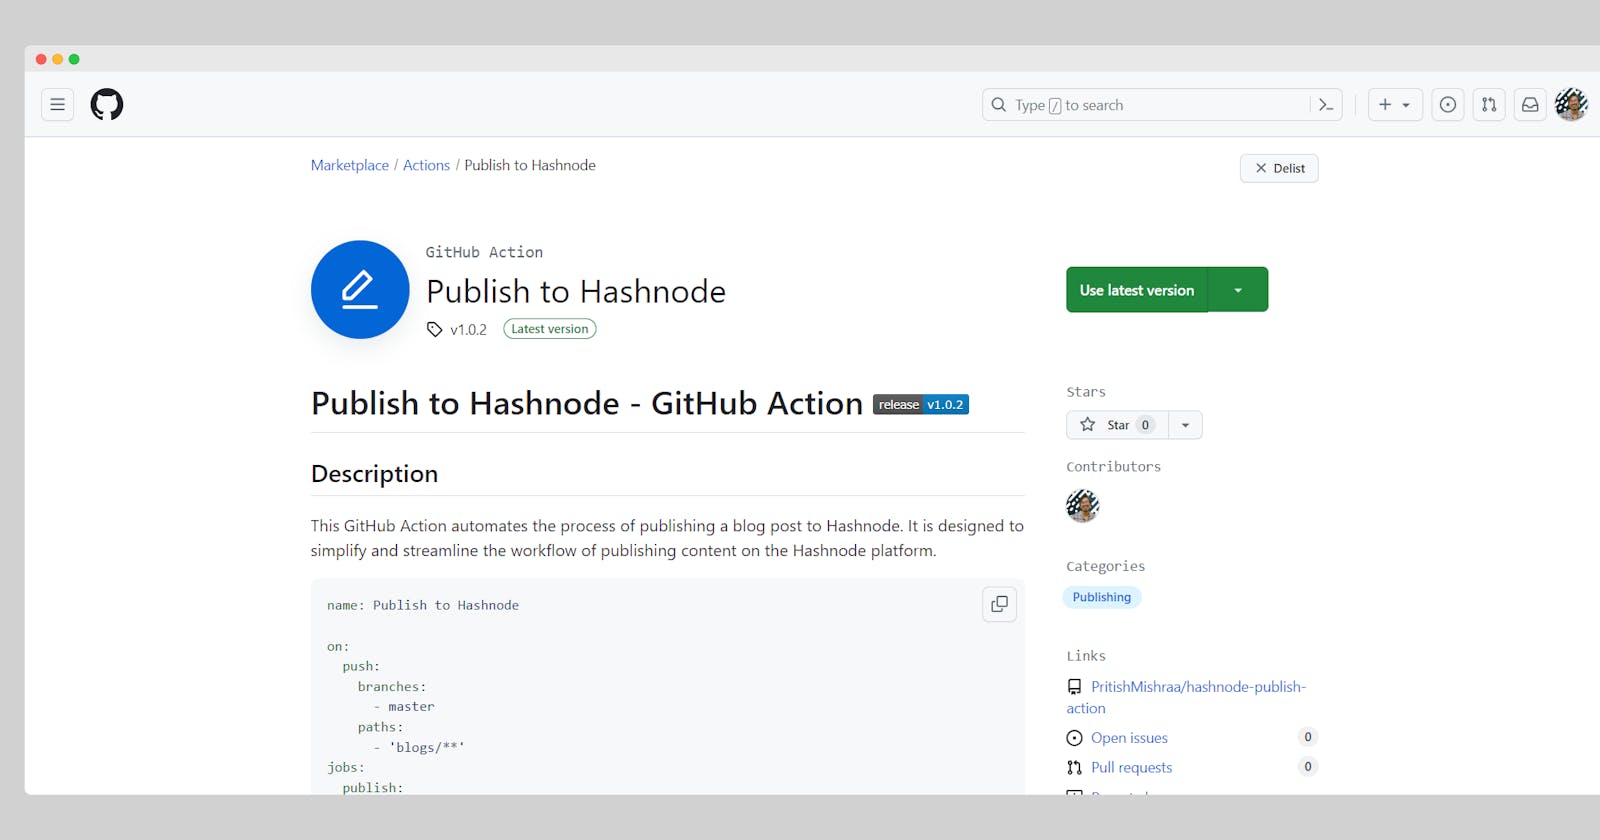
Introducing a GitHub action, Publish to Hashnode, that effortlessly publishes articles directly to Hashnode! With just two lines, you can seamlessly specify the target folder to fetch your articles. Simplifying the process has never been this quick and exciting!
- name: Publish to Hashnode
  uses: PritishMishraa/hashnode-publish-action@v1.0.2
  with:
    src: blogs
    HASHNODE_PAT: ${{ secrets.HASHNODE_PAT }}
Simply provide the action with your authentication key and indicate the source folder for your blog posts – and you're all set!
the how to use? 🚄
This is how I have integrated this action into my workflow.
name: Publish to Hashnode

on:
  push:
    branches:
      - master
    paths:
      - 'blogs/**'
jobs:
  publish:
    runs-on: ubuntu-latest
    steps:
      # ... previous steps
      - name: Publish to Hashnode
        uses: PritishMishraa/hashnode-publish-action@v1.0.1
        with:
          src: blogs
          HASHNODE_PAT: ${{ secrets.HASHNODE_PAT }}
      - name: (AUTO COMMIT) Update Status to Published
        uses: mikeal/publish-to-github-action@master
        env:
          GITHUB_TOKEN: ${{ secrets.GITHUB_TOKEN }}
      # ... add more steps as needed
Now going over each of the statements we see the name key defining the name of the workflow and on key specifies when to run the script. Here the workflow will only be executed when there is a commit to the master branch that affects the blogs folder. You can change this according to your code structure. Now let me clear a few important queries.
whats
HASHNODE_PAT?this is an authentication token provided by Hashnode to verify the API calls.
where to find it?
you find and generate your own Hashnode Personal Access Token (PAT) here.
how to use it in GitHub?
Settings > Security > Secrets and variables > Actionsadd this token in the repository you intend to use this action with HASHNODE_PAT as the key.
what should my file contain to successfully publish to Hashnode?
each file should include at least the
titleandtagsproperties in their front matter. Additionally, you can add the propertystatus: PUBLISHEDif you don't want the article to be published or if it is already published.anything else?
workflow should have both read and write access, check here,
Settings > Actions > General > Workflow permissions
the how to make? 🤔
So first things first, what are GitHub actions? According to GitHub:
GitHub Actions is a continuous integration and continuous delivery (CI/CD) platform that allows you to automate your build, test, and deployment pipeline.
In simpler words, it's like having a robot that takes care of repetitive tasks, making your development workflow smoother and more efficient. This is a very convenient and powerful feature. We can make use of this by creating our custom actions. To create a custom action, you need a few things:
A GitHub repository (yes, really important 😂)
A
action.yamlfile at the root level of your repository
This is what the action.yaml file looks like for Publish to Hashnode action.
name: Publish to Hashnode
description: Publishes a blog post to Hashnode
author: Pritish Mishra
inputs:
  src:
    description: 'The path to the blog post'
    default: 'blogs'
  HASHNODE_PAT:
    description: 'The Hashnode Personal Access Token'
    required: true
runs:
  using: 'node20'
  main: 'dist/index.js'
branding:
  icon: 'edit-3'
  color: 'blue'
Let's go over each of the key components.
name, description and author: lays the metadata regarding the action
inputs: Specifies the inputs required for the action. This can be anything you need from the user to modify the action functionality. Here, it includes the path to the blog post and the Hashnode Personal Access Token.
runs: Defines how the action runs, you can specify the version of Node to execute the file with commands. In this case, it's using 'node20' and directing to the main script located in the 'dist' folder.
branding: Adds a bit of style to the action, including an icon and colour. This is mandatory only when you want to publish your action to the marketplace.
This project is open sourced, you can go over the code here.
Now once you are done with creating the action.yaml we can start writing the core functionality of the action. Since this part can vary from project to project, I won't delve deeper into the code specifics. However, I'll share some insights I gained while making this GitHub action work.
working with TypeScript
If you are writing your action using Typescript then you need to take care of compiling it down to Javascript. This can be achieved by using
tsccommand and you can include this in your build step. Additionally, you can also configure the root and output directories in thetsconfig.jsonfile.working with dependencies
When writing your action you will probably make use of external/third-party libraries as dependencies. This leads to a problem that compiled Javascript files are not able to link to dependencies correctly. This can solved by compiling the entire codebase in a single Javascript file with the help of tools like
nccby Vercel.
"build": "tsc && ncc build lib/index.js"the conclusion ☁
For now, the project is completed within its scope, achieving the goal of automating article publishing on Hashnode seamlessly. However, as is typical with any project, there is always room for growth and further refinement. Looking ahead, I plan to enhance the functionality by exploring new features and optimizing the codebase. The journey doesn't end here; I invite fellow developers to contribute, share ideas, and join in shaping the future iterations of this GitHub Action. Together, we can make the process of publishing articles even more efficient and enjoyable. Happy coding!
the submission ⚡
This is it! This is my submission to the Hashnode APIs Hackathon. I had immense fun building it and exploring unknown territory. I hope the blog was a good read and you are leaving with some new insights.
#APIHackathon